|
|
||||||||||||||
|
|
||||||||||||||
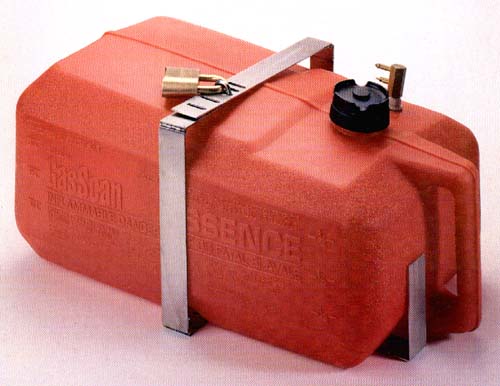
1. Select 12 #10 countersunk stainless steel screws or bolts (if you are through-bolting) to mount the Tank-LokTM (Note: make sure the screws are not too long for your application). 2. Determine the best location for the fuel tank, make sure that the fuel hose will reach the desired location, and make sure you will be able to easily open the Tank-Lok after installation in order to easily remove the tank for refueling. 3. Lay the fuel tank on the surface where it will be mounted and trace around it with a pencil. 4. Using the traced outline of the fuel tank as a template, lay the pieces out in their proper positions, centering the two smaller pieces on the ends (if possible: some tanks have handles in the center of one end), and centering the longer pieces on the long sides of the fuel tank. 5. Mark all 12 holes for drilling, remove the 4 pieces, and drill 12 holes (Note: be sure not to drill the holes either too large or too deep for the screws you have selected) 6. In order to prevent any possible leaks as you install the Tank-Lok, apply caulking or silicone sealer around each screw or bolt. 7. Place your fuel tank inside Tank-Lok, attach hose, and lock. 8. Tank is now safe and SEACURE. |
 Photo 1  Photo 2  Photo 3 |
Note: While the Tank-Lok is sized to fit over 90% of 6 gallon portable fuel tanks, Thank you for your interest in the SEACURITY PRODUCTS Tank-Lok. |
|