| Thin Fiberglass and Foam Core Installation Supplement
 As you would expect, the safety and security of the battery are dependent on the strength of the mounting. If your screws are only penetrating a thin layer of fiberglass or wood, and there is no possibility of using washers and nuts on the other side of the material, then we suggest that you use the following technique. As you would expect, the safety and security of the battery are dependent on the strength of the mounting. If your screws are only penetrating a thin layer of fiberglass or wood, and there is no possibility of using washers and nuts on the other side of the material, then we suggest that you use the following technique.
Basically we will be increasing the strength of your mounting by drilling the holes larger and injecting epoxy (or Marine-Tex®) into the hole so as to create a solid material for the screws to grab into. For this procedure, you will need only an electric drill, two drill bits (1/4 and 3/64), several hypodermic-type syringes (available at your favorite marine store; made by West System), a 10 penny nail, and your choice of either epoxy or Marine-Tex®.
Remember, this is only to be used where there is material, such as a foam core, on the other side to hold the epoxy (or Marine-Tex®) in place until it sets.
STEP 1
Plan your installation! Make sure your battery cables are long enough to reach the desired battery position, and that there will be sufficient clearance to allow easy removal and maintenance of the battery.
STEP 2
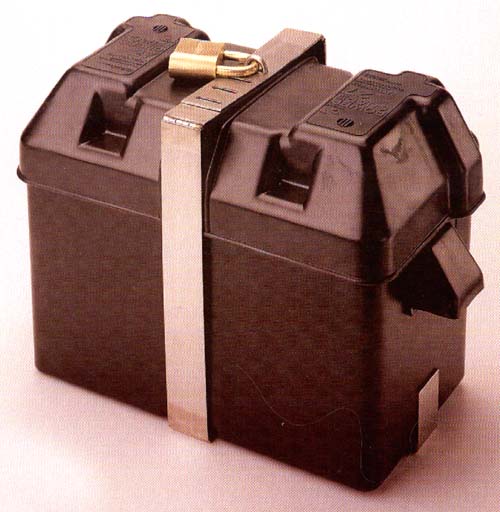
Lay the pieces out per the instructions included with the Batt-Lok. After marking the holes, drilling and installing the #10 screws, check to see whether you have sufficient hold. Should this not be the case, use the following installation procedure.
STEP 3
Remove the screws and Batt-Lok completely.
STEP 4
Drill the existing screw holes out with the 1/4 drill bit, taking care not to drill to deeply.
STEP 5
In order to create a space in the foam for the epoxy to fill, we suggest the following. Take a 10 penny nail and make a bend of 90 degrees approximately 3/4 from the end. See Figure.
STEP 6
Remove the 1/4 drill bit from the chuck and insert the bent nail so that the bent portion is furthest from the chuck.
 STEP 7 STEP 7
Insert the bent end of the nail into any 1/4 hole by tilting the drill. Holding the drill VERY FIRMLY, drill with the nail so that the foam below the hole is completely powdered. This will create an area to contain the epoxy until it hardens. Repeat the process for all of the holes.
STEP 8
Mix the epoxy or (Marine-Tex®) and pour the mixture into a hypodermic. Inject the material carefully into each hole. Use sufficient material to create a plug several inches in diameter below the hole.
STEP 9
Allow the epoxy (or Marine-Tex®) to completely harden, then drill out each hole with the 3/64 drill bit. Re-install the Batt-Lok with the #10 screws.
|